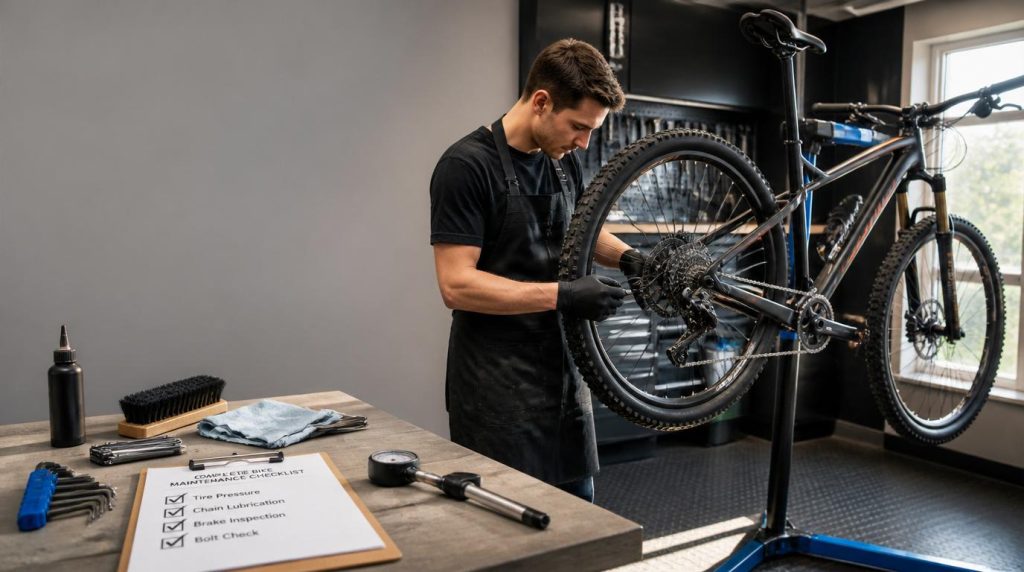
Most bike problems do not happen suddenly — they build up gradually through small issues that go unnoticed until they cause a mechanical failure, a poor ride, or an expensive repair. A consistent maintenance routine catches these issues early, when they are quick and cheap to fix.
This checklist breaks bike maintenance into manageable intervals — before every ride, weekly, monthly, and seasonally — so you always know exactly what needs attention and when.
Table of Contents
- Why a Maintenance Schedule Matters
- Before Every Ride Checklist
- Weekly Maintenance Checklist
- Monthly Maintenance Checklist
- Seasonal / Deep Maintenance Checklist
- Tools Every Cyclist Should Own
- Signs You Need Professional Service
- Maintenance by Bike Type
- Common Mistakes to Avoid
- FAQ
Why a Maintenance Schedule Matters
A structured maintenance routine serves three distinct purposes:
- Safety — Catching issues like worn brake pads, loose bolts, or cracked components before they cause a failure mid-ride
- Performance — A well-maintained bike rides more efficiently; even something as simple as correct tire pressure or a clean, lubricated chain measurably reduces the effort needed to maintain speed
- Cost savings — Most maintenance issues are cheap to address early and expensive to address late. A chain replaced at the right time costs a fraction of a chain-plus-cassette replacement after the worn chain has damaged the cassette
Treating maintenance as a routine rather than a reaction to problems is the single biggest shift that improves both bike longevity and ride quality.
Before Every Ride Checklist
This takes less than two minutes but catches the issues most likely to cause an unsafe or frustrating ride.
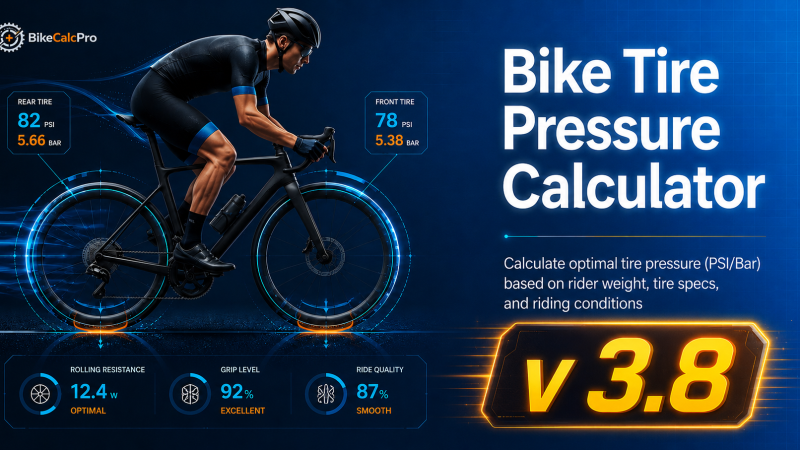
- [ ] Check tire pressure — squeeze is not reliable; use a pump with a gauge, or check against your target pressure from our Tire Pressure Calculator
- [ ] Spin each wheel — check for rubbing against the frame or brake pads, and listen for unusual noise from the hub
- [ ] Squeeze each brake lever — confirm firm engagement well before the lever reaches the handlebar grip
- [ ] Check quick releases or thru-axles — confirm wheels are securely fastened
- [ ] Visual check of the chain — look for visible rust, dryness, or obvious dirt buildup
- [ ] Check that the saddle and handlebars are secure — give each a firm push to confirm no movement
Weekly Maintenance Checklist
For riders putting in regular weekly mileage, these checks catch developing issues before they become significant.
- [ ] Clean the chain if visibly dirty — a simple wipe-down with a rag removes surface grime before it grinds into the chain
- [ ] Apply chain lubricant if the chain sounds dry or has been recently cleaned
- [ ] Check brake pad wear — visually inspect the pad surface for remaining material and even wear
- [ ] Inspect tires for cuts, embedded debris, or excessive wear on the tread
- [ ] Check derailleur shifting through the full range of gears, listening for any hesitation or noise
- [ ] Wipe down the frame — removes road grime and salt (in winter) that can contribute to corrosion over time
Monthly Maintenance Checklist
A more thorough check that catches issues developing over a longer timeframe.
- [ ] Check chain wear with a wear indicator tool or ruler — replace at 0.5–0.75% wear (see our detailed chain wear guide for the full measurement process)
- [ ] Inspect cassette and chainring teeth for visible wear patterns, particularly if the chain has been checked and found significantly worn
- [ ] Check all bolts for proper torque — stem, seat post clamp, handlebar clamp, water bottle cages, pedal threads
- [ ] Inspect cables and housing (if mechanical shifting/braking) for fraying, kinks, or stiffness
- [ ] Check headset for play — apply the front brake and rock the bike forward and back; any looseness felt at the headset indicates it needs adjustment
- [ ] Check wheel trueness — spin each wheel and look for visible side-to-side wobble
- [ ] Lubricate pivot points — derailleur pulleys, brake pivots (if rim brakes), and any other moving mechanical points
Seasonal / Deep Maintenance Checklist
Performed two to four times per year, or before/after a significant change in riding conditions (start/end of winter, before a big event).
- [ ] Full drivetrain deep clean — degrease chain, cassette, chainrings, and derailleur pulleys thoroughly
- [ ] Replace chain if approaching or past wear threshold — use our Chain Length Calculator if installing a new chain to confirm correct length
- [ ] Inspect and replace brake pads if worn close to the wear indicator line
- [ ] Check and repack or replace bearings (hubs, headset, bottom bracket) if your bike uses serviceable bearing systems — sealed cartridge bearings typically need less frequent attention but should still be checked for play or roughness
- [ ] Inspect tires for sidewall cracking or excessive wear, and replace if the tread is worn smooth or casing threads are visible
- [ ] Check frame for cracks, particularly around welds and high-stress points, especially after any crash or significant impact
- [ ] Service or replace cables and housing if more than 1–2 years old or showing signs of contamination or stiffness
- [ ] Check suspension service intervals (for MTB) — fork and shock typically require lower-leg service annually and full service every 1–2 years depending on usage, per manufacturer guidelines
Tools Every Cyclist Should Own
Essential (Under €50 Combined)
- Multi-tool with hex keys (Allen keys) in common sizes (2, 2.5, 3, 4, 5, 6mm)
- Tire levers
- A reliable floor pump with a pressure gauge
- Chain lubricant appropriate for your riding conditions
Recommended for Home Maintenance
- Torque wrench — particularly important for carbon components, where over-tightening can cause damage
- Chain wear indicator tool
- Chain tool (chain breaker)
- Degreaser and a few rags dedicated to bike cleaning
For More Advanced Home Mechanics
- Truing stand (or improvised method using the bike frame itself and zip ties as a reference point)
- Cable cutters designed for bike cable housing
- Bottom bracket tools specific to your bike’s bottom bracket standard
Signs You Need Professional Service
Some issues are best left to a qualified bike mechanic, particularly where safety-critical systems or specialised tools are involved.
- Hydraulic brake bleeding — requires specific fluid and tools; incorrect bleeding can result in brake failure
- Suspension fork or shock internals — requires specialised tools and often proprietary parts
- Wheel building or significant truing — requires practice to avoid uneven tension that can lead to wheel failure
- Frame cracks or damage — requires professional assessment of whether the frame remains safe to ride
- Persistent issues that do not resolve with basic adjustment — sometimes indicate a problem requiring diagnostic experience to identify correctly
There is no shame in handing off tasks outside your comfort level — a competent home mechanic still benefits from professional service for the tasks that carry higher risk or require specialised equipment.
Maintenance by Bike Type
Road Bikes
Lighter components and higher pressures mean tire pressure checks before every ride are particularly important, as road tires lose pressure faster (proportionally) than wider tires, and the performance impact of incorrect pressure is more noticeable.
Gravel Bikes
The mixed-terrain nature of gravel riding means more frequent drivetrain cleaning is often needed, particularly after wet or muddy rides, where contamination accelerates chain and cassette wear significantly faster than dry road riding.
Mountain Bikes
Suspension service intervals, more frequent drivetrain cleaning (off-road conditions are harsher), and more frequent tire and brake pad wear checks are all elevated compared to road bikes, reflecting the more demanding conditions MTB components face.
E-Bikes
In addition to standard mechanical maintenance, e-bikes require attention to battery care (avoiding extreme temperature storage, following manufacturer charging guidelines) and may have additional motor-specific service requirements outlined by the manufacturer.
Common Maintenance Mistakes to Avoid
Mistake 1: Only Doing Maintenance When Something Feels Wrong
Reactive maintenance catches problems after they have already caused wear or discomfort. A consistent schedule catches issues while they are still minor and inexpensive to address.
Mistake 2: Over-Lubricating the Chain
Excess lubricant attracts more dirt and grime than it prevents, often making the drivetrain dirtier rather than cleaner. Apply a thin, even amount and wipe off excess after a short ride.
Mistake 3: Ignoring Small Noises
Unusual noises are often early warning signs of developing issues — a clicking sound might indicate a loose bolt, worn bearing, or developing crack. Investigating promptly is almost always cheaper than waiting for the noise to become a failure.
Mistake 4: Skipping Torque Specifications on Carbon Components
Carbon frames, seat posts, and handlebars have specific torque limits that, if exceeded, can cause cracking or catastrophic failure. Always use a torque wrench for carbon components rather than tightening by feel.
Mistake 5: Neglecting Maintenance During Off-Season Storage
A bike stored for months without basic preparation (clean drivetrain, appropriate tire pressure, dry storage location) often develops issues like chain rust or flat-spotted tires that are easily avoided with minimal preparation before storage.
FAQ
How often should I service my bike?
Basic checks (tire pressure, brake function) should happen before every ride. Deeper maintenance follows weekly, monthly, and seasonal intervals as outlined in this checklist, with frequency increasing for riders putting in higher mileage or riding in harsher conditions.
What is the most important bike maintenance task?
While all regular maintenance contributes to safety and performance, checking tire pressure before every ride and monitoring chain wear monthly are two of the highest-impact, lowest-effort tasks — both directly affect safety, performance, and the cost of avoiding secondary component damage.
Can I do my own bike maintenance, or do I need a professional?
Many maintenance tasks are accessible to home mechanics with basic tools — cleaning, lubrication, tire pressure, basic adjustments. Tasks involving hydraulic systems, suspension internals, or structural assessment are generally better left to a professional with the appropriate tools and experience.
How do I know if my bike needs professional service versus home maintenance?
If the issue involves hydraulic brakes, suspension internals, wheel building, or potential frame damage, professional service is recommended. If basic adjustment, cleaning, or component replacement (chain, brake pads, cables) resolves the issue, home maintenance is usually sufficient.
What tools do I need to start maintaining my own bike?
A multi-tool with hex keys, tire levers, a quality floor pump with a gauge, and appropriate chain lubricant cover the majority of basic maintenance needs. A torque wrench and chain wear indicator tool are valuable next additions, particularly for bikes with carbon components.
Does bike maintenance differ between road, gravel, and mountain bikes?
Yes, primarily in frequency and emphasis. Road bikes need more frequent tire pressure checks due to higher pressure and faster pressure loss. Gravel and mountain bikes typically need more frequent drivetrain cleaning due to harsher, dirtier conditions, and mountain bikes additionally require suspension service at manufacturer-recommended intervals.
Summary
Consistent bike maintenance, broken into manageable intervals, catches problems early and keeps your bike safe, efficient, and long-lasting.
Key takeaways:
- Before every ride: tire pressure, brakes, wheel security — two minutes, every time
- Weekly: chain cleaning and lubrication, visual wear checks
- Monthly: chain wear measurement, bolt torque, headset and wheel checks
- Seasonally: deep clean, component replacement, bearing and suspension service
- Some tasks (hydraulic brakes, suspension internals, frame damage) are best left to a professional
Start with the basics — check your tire pressure correctly with our Tire Pressure Calculator →